First I set up a scene with a black ground plane. I then added two Goniometric lights.
In the light parameters panel I turned on shadowcasting.
There's also an often overlooked button called 'G.data'.
Press this and then navigate to your tS/SupportFiles/IESFiles/ directory.
Looking to simulate the light given off by two car headlights (like in Finis' project), I picked the 'Sealed Beam' directory and started trying the different IES files there. I used Area Render to test each type until I found one I liked- something with a little variation in the intensity.
Once I chose one, I selected a Top View window and rendered out an image file. Download it here.
Here's a screenshot of the setup.
Save the scene and then load a blank one.
In the blank scene I loaded a pre-made displacement mapped ground object.
I added a camera and positioned it low and to one side of the ground.
Open the light Library and load the 'none' preset, or delete the existing lights.
Add a Projector light.
Scale it up and rotate as needed. I wanted it to cast a glancing light across the ground object.
Turn on shadowcasting (and volumetrics if desired) in the parameters panel.
Right clicking on the intensity slider opens an numerical input panel where you can set a higher light intensity than just the slider allows.
Set falloff to Linear or Squared. This controls how far the light projects before it fades off. This parameter is represented in the 3D space by the green cage displayed in front of the light object. You can use the presets (None,Linear, Squared), the numerical input, or click and drag on the green cage to adjust the falloff parameter to suit your particular scene.
I then clicked on the 'light image' input box and chose the image that I had just rendered in the first scene.
Select the camera view and render scene. Adjust camera angle, light angle/position, and render properties to your liking.
Here's a screenshot of this scene.
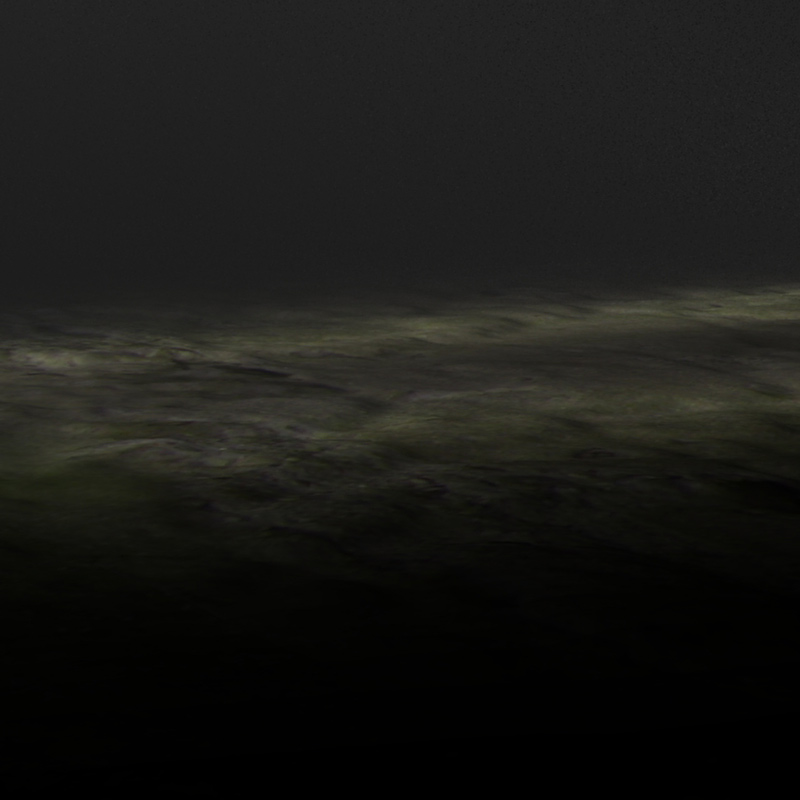
Tada! Two headlight beams using one light:
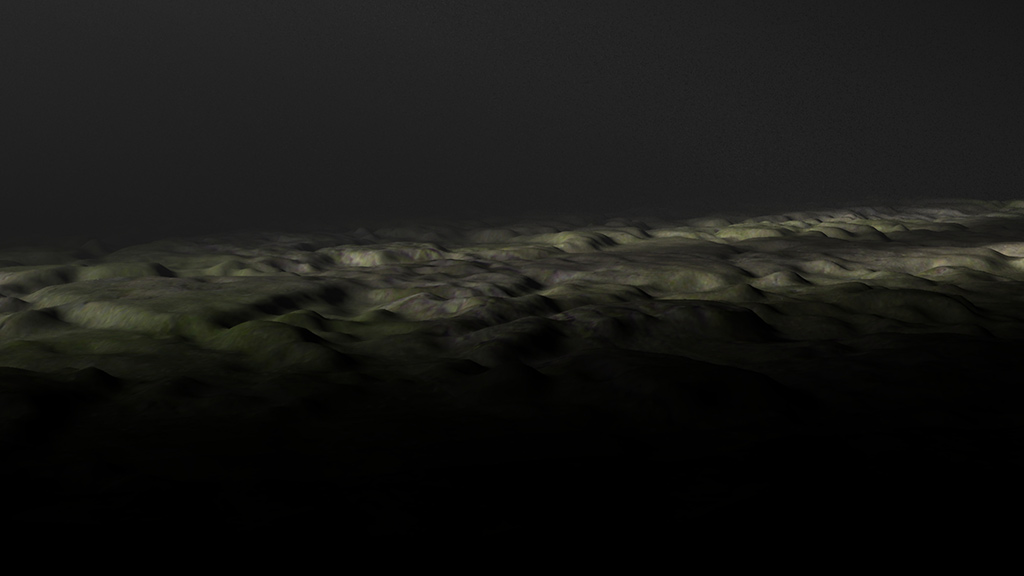
A few examples:
With the 'Mie Murky' volumetric model.
With the 'Isometric' model.
With the 'Raleigh' model.