GMax Fundamentals
-
clintonman

- Captain
- Posts: 5659
- Joined: 21 May 2009, 21:08
- Type the number ten into the box: 0
- Location: California
GMax Fundamentals
The past few weeks I've been using the 3DBuzz Max Fundamentals course videos to learn GMax. GMax is a free limited version of 3DSMax version 4 that was made for game content creation. It has no renderer and I was thinking of using the Open Arena game as a renderer. GMax has a gamepak that lets it write to the Quake III format and Open Arena is like an open source version of Quake III.
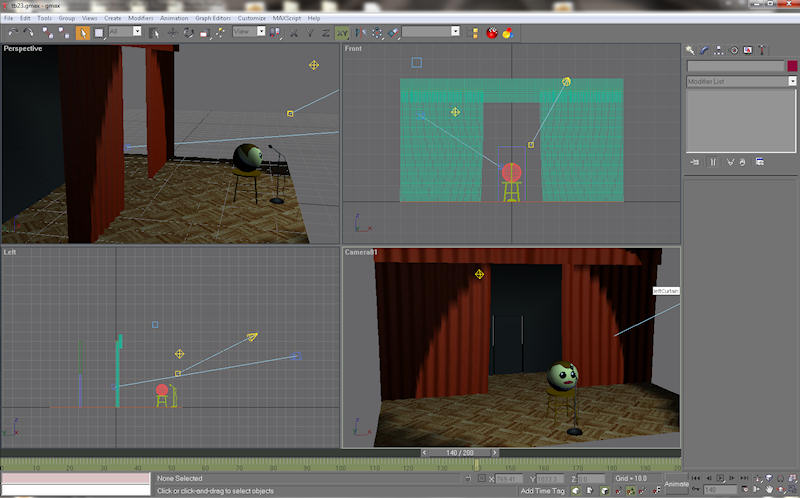
The first project is an animated bouncing ball. This is done except for the rendering.
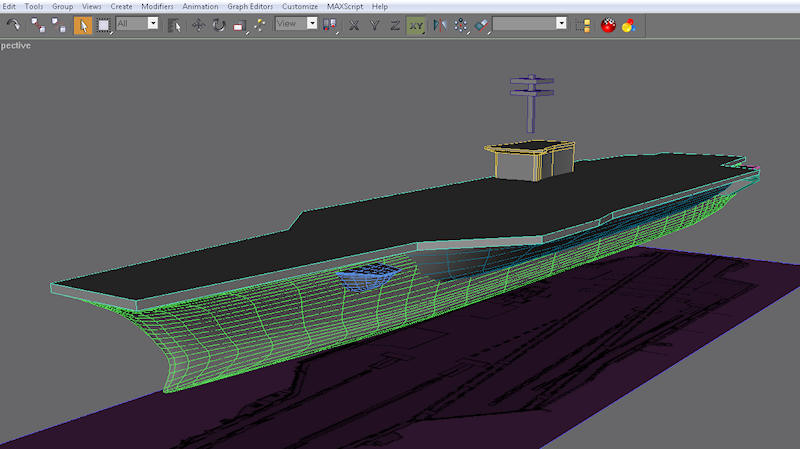
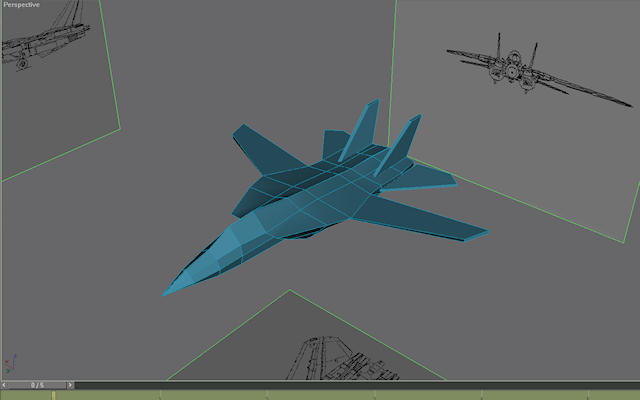
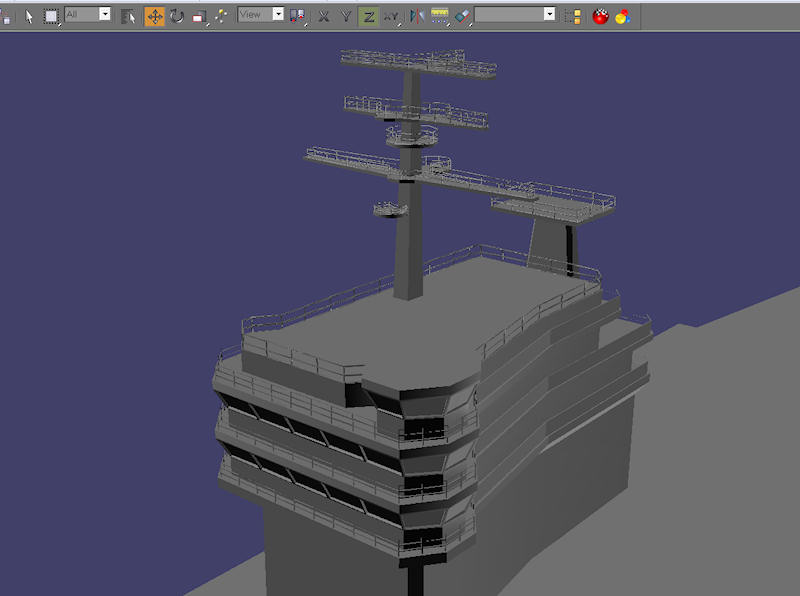
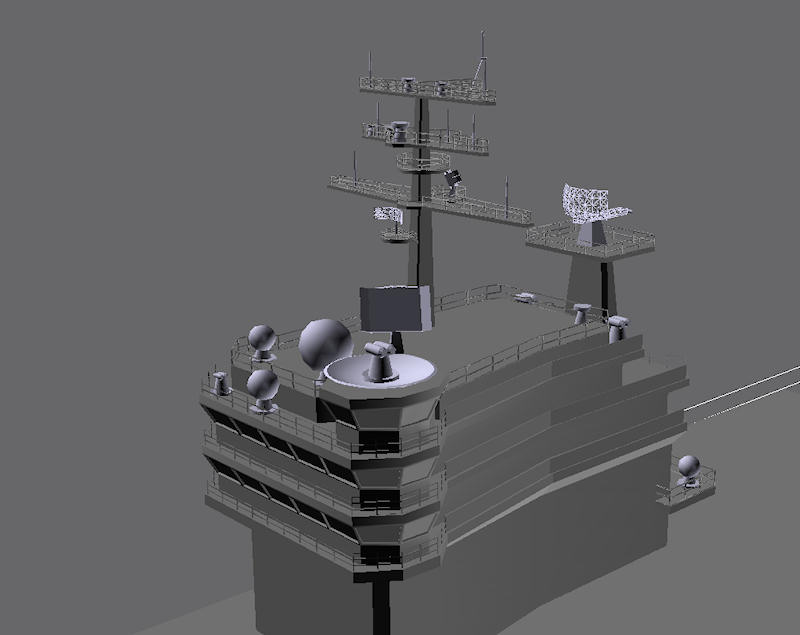
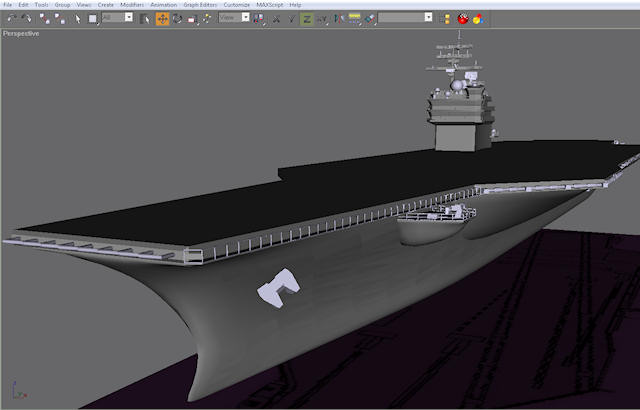
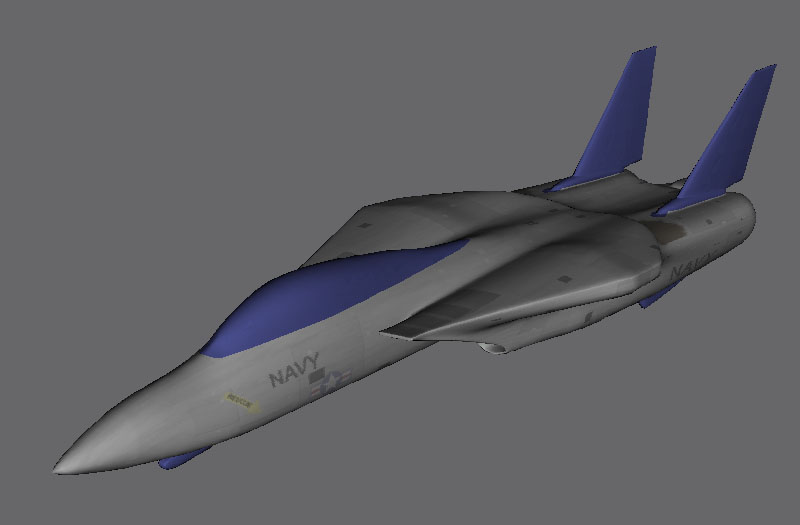
The second project is much bigger. A pair of F-14 jets take off from a carrier and blow up a target on the high seas. I've modeled the animatics for the aircraft carrier and the jet. The image above is the completed jet model that will be animated in the final scene. The next lesson is modeling the aircraft carrier.

-
Tiles

- Master Chief Petty Officer
- Posts: 401
- Joined: 27 May 2009, 08:34
Re: GMax Fundamentals
Nice one. But isn`t GMax a bit too outdated to toy around with it nowadays? 
Free Gamegraphics, Freeware Games http://reinerstilesets.de
-
clintonman
- Captain
- Posts: 5659
- Joined: 21 May 2009, 21:08
- Type the number ten into the box: 0
- Location: California
Re: GMax Fundamentals
You would think so, but surprisingly it's not too bad. I had to change several keyboard shortcuts to match 3DSMax and it's definitely lacking some tools, but I can follow almost all of the steps in the tutorial. The most noticeable things missing are no loop selection, no ring selection, no insert ring loop function and no bridge tool. The snapping modes don't work as well as 3DSMax and the object move widget is not as good. Overall it is not as good as 3DSMax but it works the same way. I'll be ready for the next 30 trial from autodesk.Tiles wrote:Nice one. But isn`t GMax a bit too outdated to toy around with it nowadays?
-
clintonman
- Captain
- Posts: 5659
- Joined: 21 May 2009, 21:08
- Type the number ten into the box: 0
- Location: California
Re: GMax Fundamentals
I've given up on the idea of using Open Arena as a rendering engine for the first project, the talented ball. The Quake III engine doesn't seem to have an easy way to just play a vertex animation. It might still work out for the second project since there is no vertex animations in it.
-
clintonman
- Captain
- Posts: 5659
- Joined: 21 May 2009, 21:08
- Type the number ten into the box: 0
- Location: California
Re: GMax Fundamentals
I was able to compile the OpenArena source and I found some work by someone who makes it possible to do cut scenes with the quake code. So I might still be able to use it as a kind of render engine.
-
clintonman
- Captain
- Posts: 5659
- Joined: 21 May 2009, 21:08
- Type the number ten into the box: 0
- Location: California
Re: GMax Fundamentals
-
clintonman
- Captain
- Posts: 5659
- Joined: 21 May 2009, 21:08
- Type the number ten into the box: 0
- Location: California
Re: GMax Fundamentals

-
v3rd3
- Lieutenant Commander
- Posts: 1191
- Joined: 21 May 2009, 20:04
Re: GMax Fundamentals
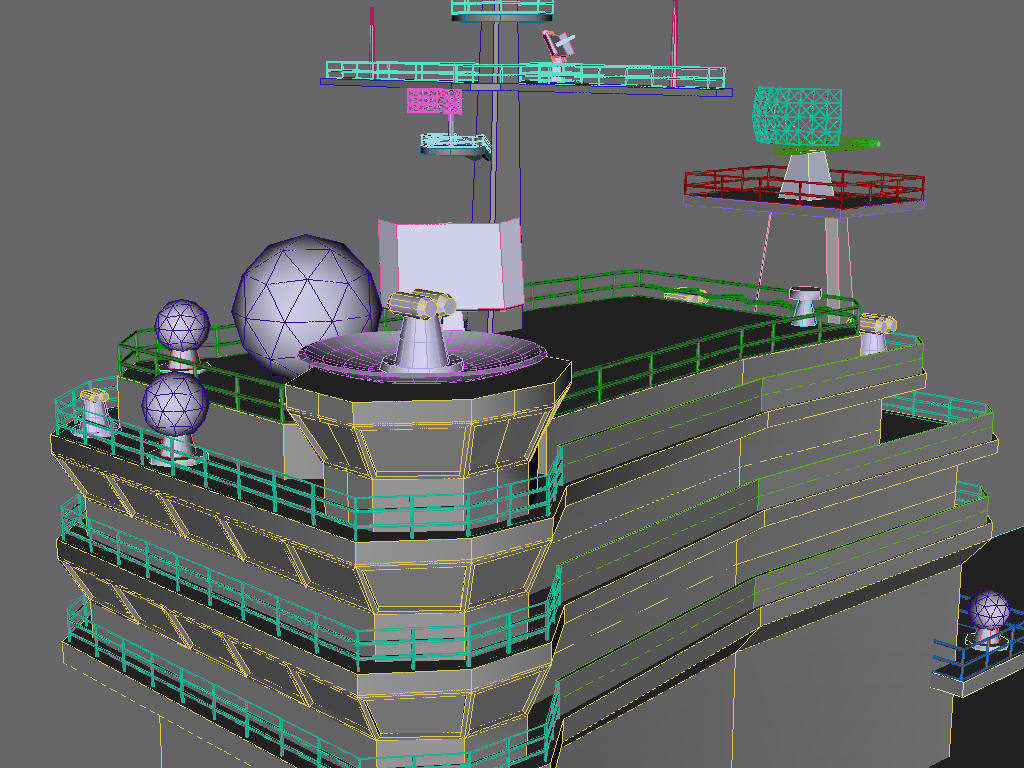
Really nice work clintonman... please keep adding the wire screens it helps us noobs better understand good modelling practice.
-
clintonman
- Captain
- Posts: 5659
- Joined: 21 May 2009, 21:08
- Type the number ten into the box: 0
- Location: California
Re: GMax Fundamentals
v3rd3 wrote:Really nice work clintonman... please keep adding the wire screens it helps us noobs better understand good modelling practice.
-
clintonman
- Captain
- Posts: 5659
- Joined: 21 May 2009, 21:08
- Type the number ten into the box: 0
- Location: California
Re: GMax Fundamentals
Started target model which will be some kind of ocean or oil platform. Mostly a bunch of cylinders all stuck together.


-
clintonman
- Captain
- Posts: 5659
- Joined: 21 May 2009, 21:08
- Type the number ten into the box: 0
- Location: California
Re: GMax Fundamentals
Oil rig target model is done. In the tutorial they used a couple of tools found in the extended tools section of Max, but GMax only has the basic tools. They used a tool called L-ext which makes "L" shaped beams and they used a stair making tool. I just had to do it the old fashioned way.
Next step is to UV and texture everything.

-
spacekdet

- Captain
- Posts: 1810
- Joined: 27 May 2009, 15:00
- Type the number ten into the box: 10
- Location: On the day shift at the Utility Muffin Research Kitchen
Re: GMax Fundamentals
Drill, Baby, Drill!
-
clintonman
- Captain
- Posts: 5659
- Joined: 21 May 2009, 21:08
- Type the number ten into the box: 0
- Location: California
Re: GMax Fundamentals
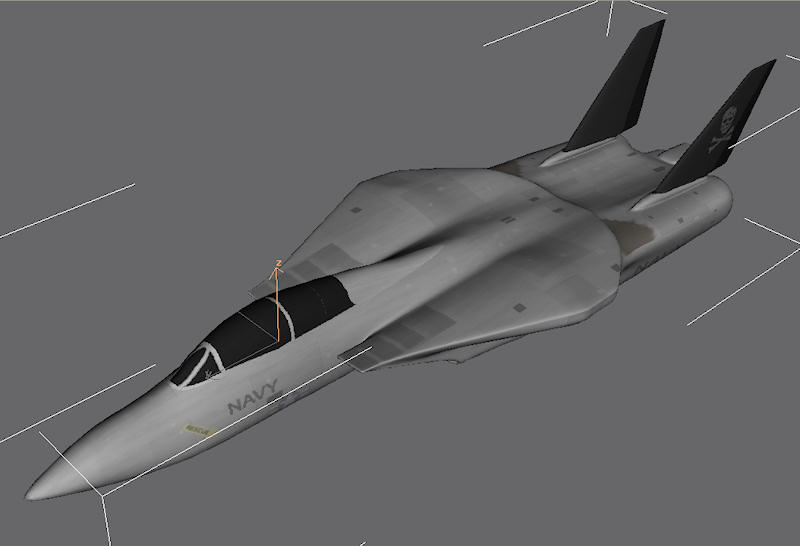
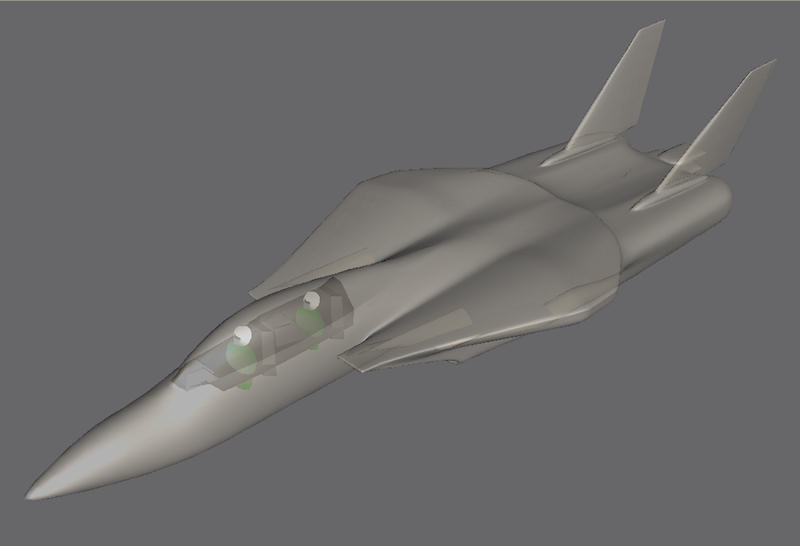
I started the UV mapping for the F14 jet.
The first step was to assign colored materials to the jet to pre-plan the UV mapping and make it easier to select regions for uv mapping.
The second step was to apply a checker texture so the stretching and compression of the uv mapping could be seen while the individual parts were mapped and many of the pieces stitched together. It was mostly planer maps with some cylinder maps used in sections that were cylindrical in shape.
The basic unwrap of the body is done and the number of materials was reduced to 2 to correspond to the 2 texture materials that will be applied. At this point the uv sets are split with one set on the left and the other on the right.
The next step is the organize, resize and tweak the UV's and do a screen capture of the final UV set then finish unwrapping the other pieces of the jet.
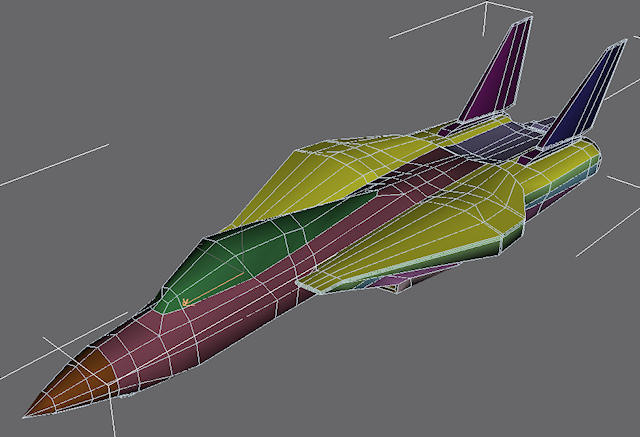
The first step was to assign colored materials to the jet to pre-plan the UV mapping and make it easier to select regions for uv mapping.
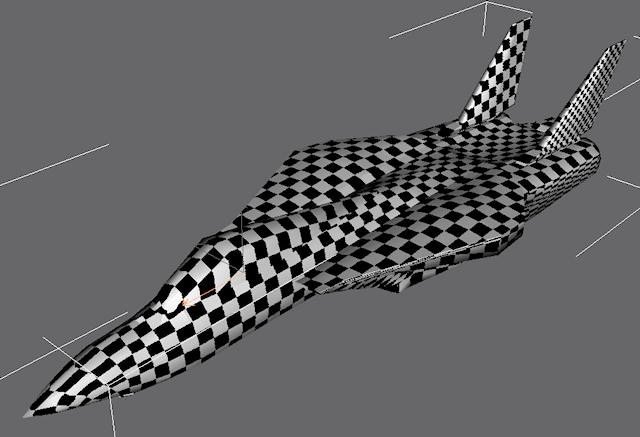

The next step is the organize, resize and tweak the UV's and do a screen capture of the final UV set then finish unwrapping the other pieces of the jet.
-
v3rd3
- Lieutenant Commander
- Posts: 1191
- Joined: 21 May 2009, 20:04
Re: GMax Fundamentals
Thanks Clinton. This will be a great workflow walkthrough when you are done....
-
clintonman
- Captain
- Posts: 5659
- Joined: 21 May 2009, 21:08
- Type the number ten into the box: 0
- Location: California
Re: GMax Fundamentals

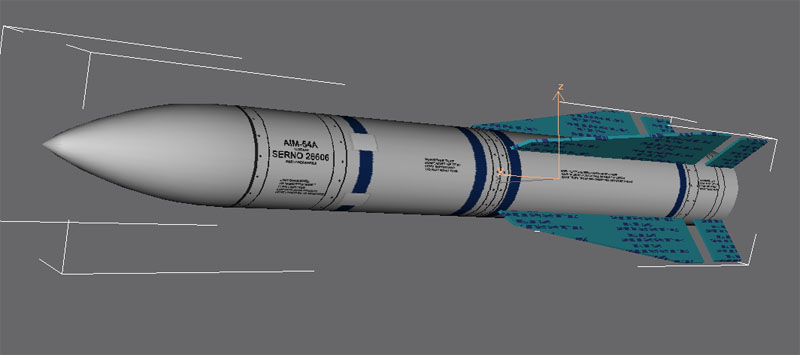
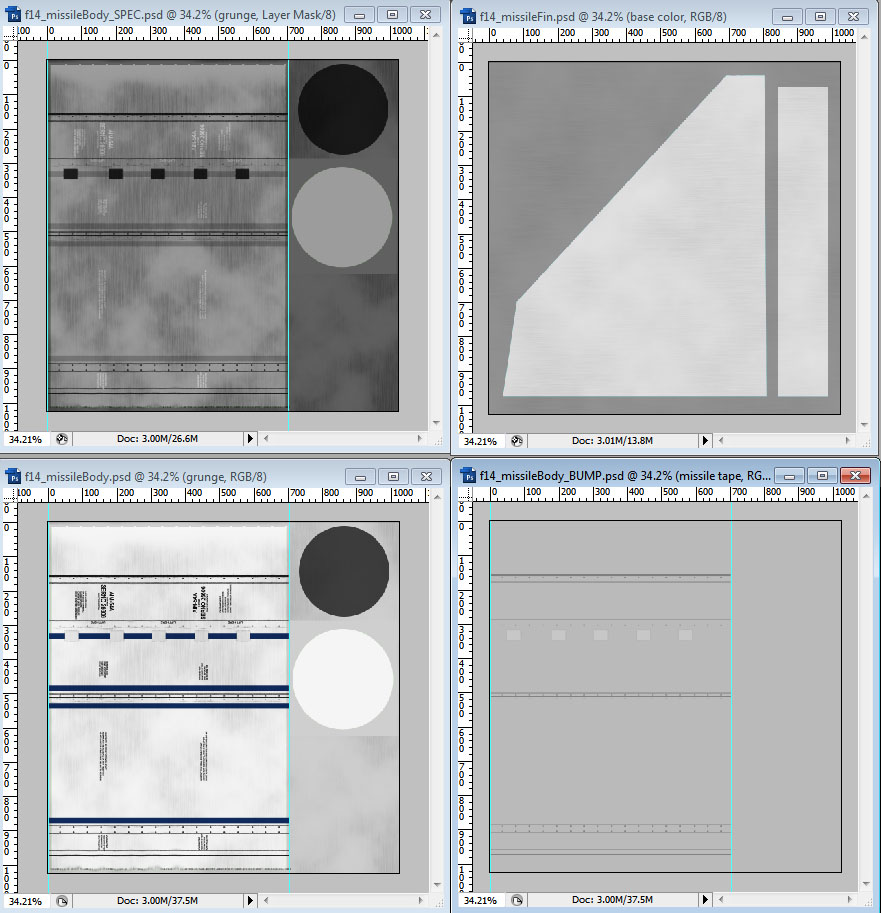
next up is texturing the missiles.
-
tahnoak

- Master Chief Petty Officer
- Posts: 339
- Joined: 02 Sep 2009, 01:31
Re: GMax Fundamentals
Thanks for sharing all this detail Clintonman. Great stuff and I am following with keen interest to see how the UVMapping comes out.
-
clintonman
- Captain
- Posts: 5659
- Joined: 21 May 2009, 21:08
- Type the number ten into the box: 0
- Location: California
Re: GMax Fundamentals
-
clintonman
- Captain
- Posts: 5659
- Joined: 21 May 2009, 21:08
- Type the number ten into the box: 0
- Location: California
Re: GMax Fundamentals

-
clintonman
- Captain
- Posts: 5659
- Joined: 21 May 2009, 21:08
- Type the number ten into the box: 0
- Location: California
Re: GMax Fundamentals
-
froo
- Captain
- Posts: 2554
- Joined: 22 May 2009, 12:13
Re: GMax Fundamentals
Wow you've really got the hang of this don't you?
-
clintonman
- Captain
- Posts: 5659
- Joined: 21 May 2009, 21:08
- Type the number ten into the box: 0
- Location: California
Re: GMax Fundamentals
Thanks, Jason. I'm just following along with the lessons.froo wrote:Wow you've really got the hang of this don't you?
-
clintonman
- Captain
- Posts: 5659
- Joined: 21 May 2009, 21:08
- Type the number ten into the box: 0
- Location: California
Re: GMax Fundamentals
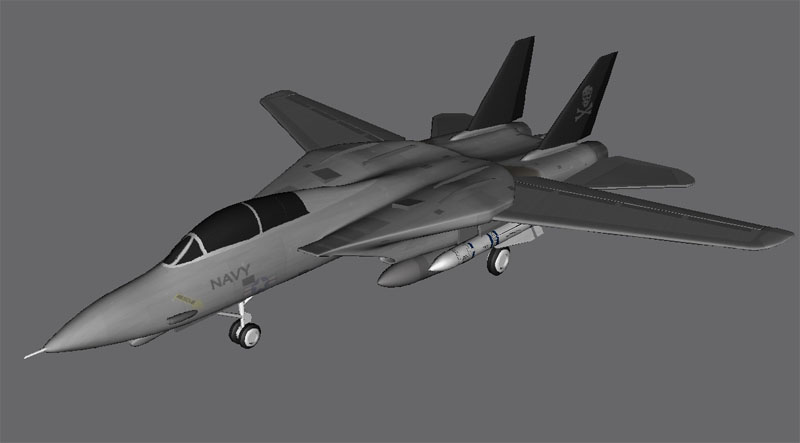
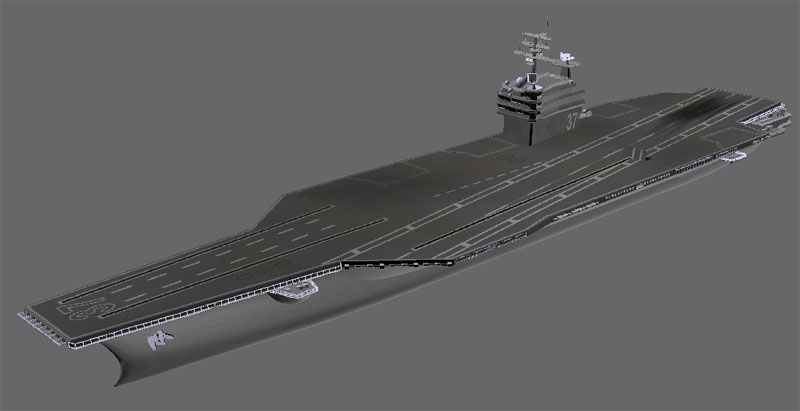
next up the aircraft carrier texture.
-
clintonman
- Captain
- Posts: 5659
- Joined: 21 May 2009, 21:08
- Type the number ten into the box: 0
- Location: California
Re: GMax Fundamentals
-
clintonman
- Captain
- Posts: 5659
- Joined: 21 May 2009, 21:08
- Type the number ten into the box: 0
- Location: California
Re: GMax Fundamentals
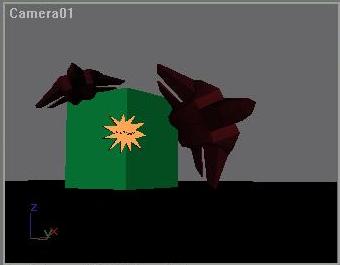
- Scene_7__0177.jpg (8.36 KiB) Viewed 6184 times
GMax has no renderer so I did a screen capture using a script that controls the GMax timeline and a program called MWSnap.
Here is the vbscript code. It makes GMax the active window then sends a period key to it to advance the time and then sends the MWSnap command for capturing.
Code: Select all
'playblast
'script for creating a playblast of the gmax window
'requires gmax
'requires MWSnap for capture(only full screen capture works)
'CHANGE OF PLAN: use mwsnap to save images directly to disk
'set options so mwsnap doesn't popup after capture
'gmax must not be minimized

'Setup MWSnap for capture.

'    * Tools - Settings - Snapping   set to not restore MWSnap after snapping
'    * Tools - Settings - Auto saving   activate, set folder, filename and numerical suffix

'march 15 2011
'Clinton Reese
'www.clintons3d.com
'
' use:
' set time in gmax to the first frame
' if this text is open close it to avoid confusion with gnax application
'


Dim Input
Input = InputBox("How many frames ?")

set WshShell = WScript.CreateObject("WScript.Shell")
WshShell.AppActivate "gmax"
WScript.Sleep 1000
For frame = 0 to Input-1
   'take an mwsnap shot of the entire screen (ctrl+shift+d)- allow 4 sec to save the file
   'WshShell.Sendkeys "^+d"
   'WScript.Sleep 4000
   'move to next keyframe - baking required and keys must be visible by eye
   WshShell.Sendkeys "."
   WScript.Sleep 1000

Next
MsgBox ("Playblast completed.")There are 2 sections where nothing is moving. There will be ocean motion and text "typed" out onto the screen. The part with the missile firing got cut short and the 2 sections with quick zooms are meant to have a BattleStar Galactica style camera man can't focus properly or hold the camera steady look to it. The 3rd section with the jet flying by the camera after takeoff is way to slow and needs to be sped up.
- Attachments
-
- animatic01.zip
- (256.04 KiB) Downloaded 313 times
-
MikomDude

- Captain
- Posts: 1930
- Joined: 04 Oct 2010, 11:12
- Type the number ten into the box: 0
- Location: The Hague, Netherlands
Re: GMax Fundamentals
Nice! I have been following this a bit and your progress is amazing. Just a pity there weren't any textures in the animation. I also think the two fighters took of from the wrong runway, the sideways runway is only for landings I think... either way, good job!
-
clintonman
- Captain
- Posts: 5659
- Joined: 21 May 2009, 21:08
- Type the number ten into the box: 0
- Location: California
Re: GMax Fundamentals
Thanks for the feedback. The jets can take off from 4 locations and land in the rear portion: http://science.howstuffworks.com/aircraft-carrier1.htm"MikomDude wrote:Nice! I have been following this a bit and your progress is amazing. Just a pity there weren't any textures in the animation. I also think the two fighters took of from the wrong runway, the sideways runway is only for landings I think... either way, good job!
I suspect that the instructor chose the side runway just because it looked better taking off near the bridge. There's no textures in it because it's the animatic. You use the animatic to rough test the animation for general timing then go back, replace the animatic models with the real ones and fine tune the final animation. Using animatics isn't really necessary in this project, but would be useful if the jets were super detailed to the point that it slows down your computer making it difficult to animate. The other reason is so if you're working with a group of people the animators can start right away with the simple animatic models until the real models are complete. They don't have to wait for the modeler to finish modeling or the texture guy to finish texturing.
-
v3rd3
- Lieutenant Commander
- Posts: 1191
- Joined: 21 May 2009, 20:04
Re: GMax Fundamentals
Clinton that is awesome work.... Your creativity is inspiring.
Are there any old tools you will not bring back to life somehow? Other than windows ME
Are there any old tools you will not bring back to life somehow? Other than windows ME
-
clintonman
- Captain
- Posts: 5659
- Joined: 21 May 2009, 21:08
- Type the number ten into the box: 0
- Location: California
Re: GMax Fundamentals
That made me laugh.v3rd3 wrote:Clinton that is awesome work.... Your creativity is inspiring.
Are there any old tools you will not bring back to life somehow? Other than windows ME
 I feel like Frankenstein bringing the monster to life. but as far as creativity I didn't create this. I'm following a tutorial so nothing original here. My goal when I started was to learn 3DSMax modeling and mission accomplished . I'm confident I could model in Max despite having learned on GMax since all the techniques are almost identical between the 2 applications. The secondary goal is to bring what I learn into truespace in the form of modeling scripts.
-
clintonman
- Captain
- Posts: 5659
- Joined: 21 May 2009, 21:08
- Type the number ten into the box: 0
- Location: California
Re: GMax Fundamentals
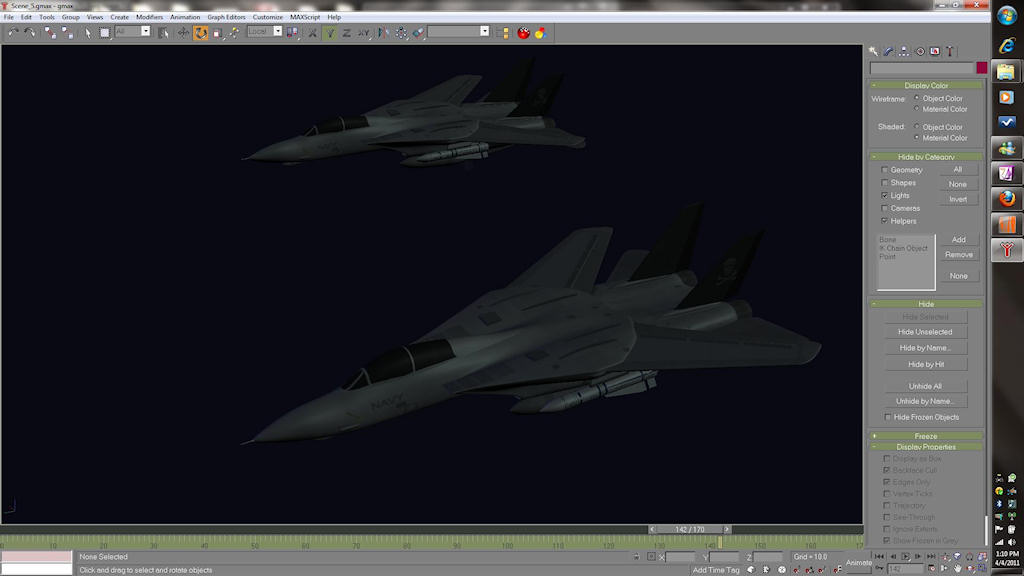
There was no way top control the viewport size so I captured at full screen to get consistent size and position for the screen capture software. That's also the reason for the odd 1616x900 resolution.
- Attachments
-
- f14attackfinal.zip
- (3.58 MiB) Downloaded 262 times
-
v3rd3
- Lieutenant Commander
- Posts: 1191
- Joined: 21 May 2009, 20:04
Re: GMax Fundamentals
It's the ka-blam that gets m  e.
e.
e.-
clintonman
- Captain
- Posts: 5659
- Joined: 21 May 2009, 21:08
- Type the number ten into the box: 0
- Location: California
Re: GMax Fundamentals
Yeah, It's the awesome special effects that put it over the edge.v3rd3 wrote:It's the ka-blam that gets m
-
clintonman
- Captain
- Posts: 5659
- Joined: 21 May 2009, 21:08
- Type the number ten into the box: 0
- Location: California
Re: GMax Fundamentals
-
clintonman
- Captain
- Posts: 5659
- Joined: 21 May 2009, 21:08
- Type the number ten into the box: 0
- Location: California
Re: GMax Fundamentals


-
v3rd3
- Lieutenant Commander
- Posts: 1191
- Joined: 21 May 2009, 20:04
Re: GMax Fundamentals
Just a small point but your dragon sketch could be misinterpreted... perhaps a tad more detail would help.

-
clintonman
- Captain
- Posts: 5659
- Joined: 21 May 2009, 21:08
- Type the number ten into the box: 0
- Location: California
Re: GMax Fundamentals
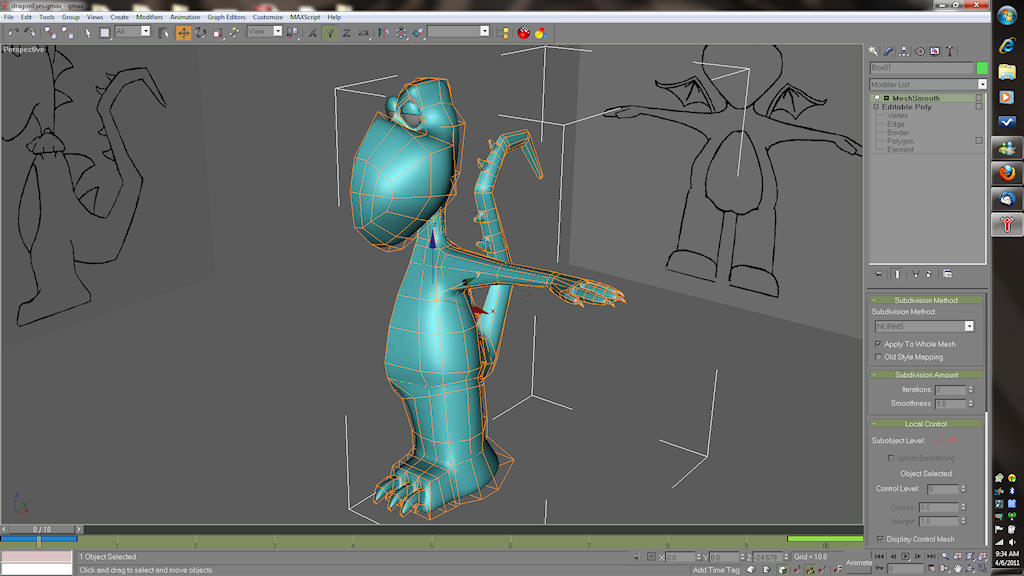
It's not my sketch. I'm following the 3DBuzz "Mastering 3DSMax: The Fundamentals" tutorial series. They supplied all the images for the model planes. Just curious, but what do you mean by misinterpreted? I didn't draw it so no need to worry about hurting my feelings. Even if I did draw it I would like to know what you think.v3rd3 wrote:Just a small point but your dragon sketch could be misinterpreted... perhaps a tad more detail would help.
-
clintonman
- Captain
- Posts: 5659
- Joined: 21 May 2009, 21:08
- Type the number ten into the box: 0
- Location: California
Re: GMax Fundamentals
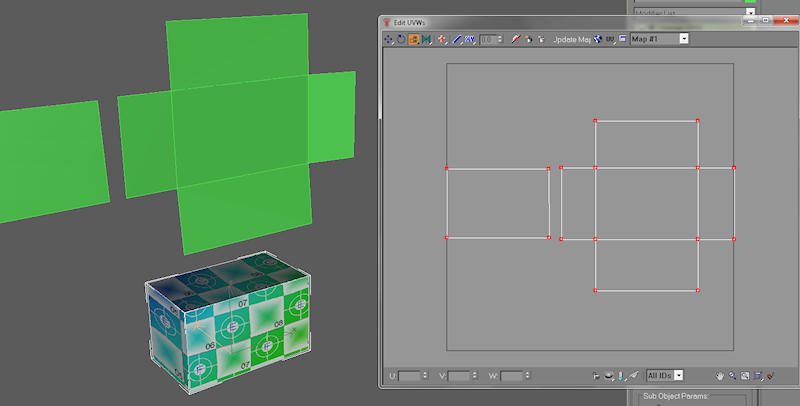
I tried the same technique in truespace but the uv mapper only see's the un-morphed mesh.
Edit: I was wrong.
 The technique does work in truespace. The trick is to apply the planer uv with the morph selected in the list, not the default pose. After the uv is applied switch back to default pose and morph back to the original shape(set the morph value to zero). Flatten history and Heal the vertices to weld them back.
-
v3rd3
- Lieutenant Commander
- Posts: 1191
- Joined: 21 May 2009, 20:04
Re: GMax Fundamentals
A cheezy joke based on a youth misspent reading playboy cartoons.....
-
3dfrog

- Senior Chief Petty Officer
- Posts: 175
- Joined: 21 May 2009, 21:09
Re: GMax Fundamentals
Wow great work here Clintonman. The dragon is my favorite one, very nice.
-
clintonman
- Captain
- Posts: 5659
- Joined: 21 May 2009, 21:08
- Type the number ten into the box: 0
- Location: California
Re: GMax Fundamentals
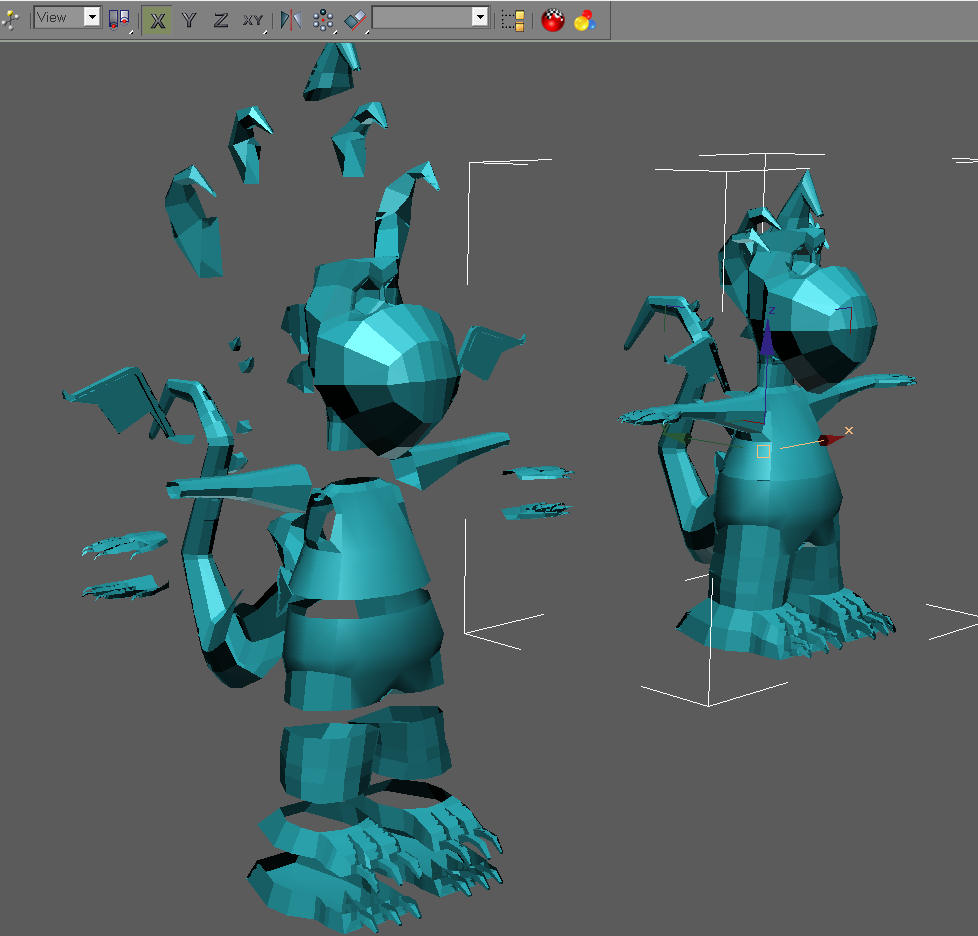
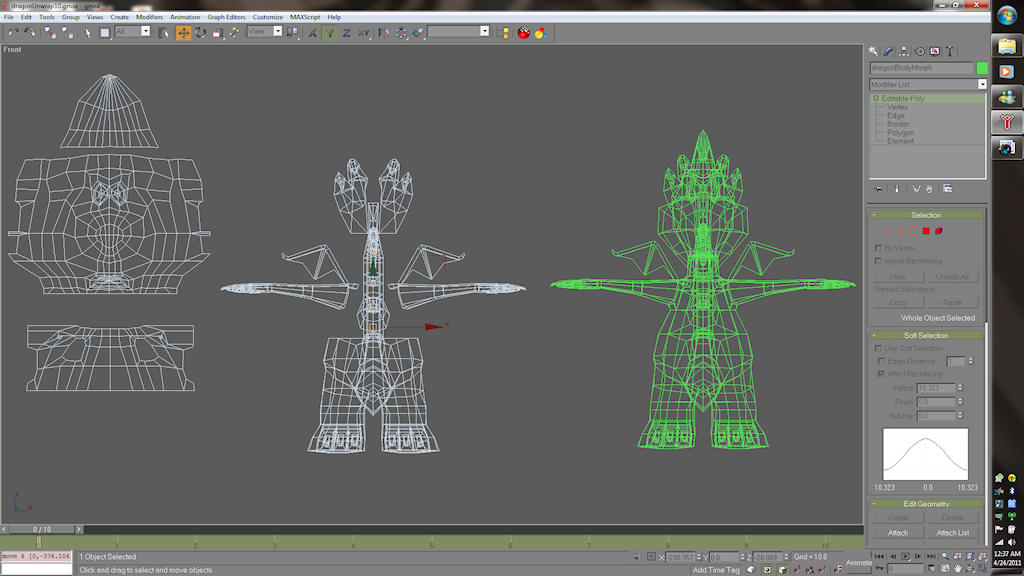
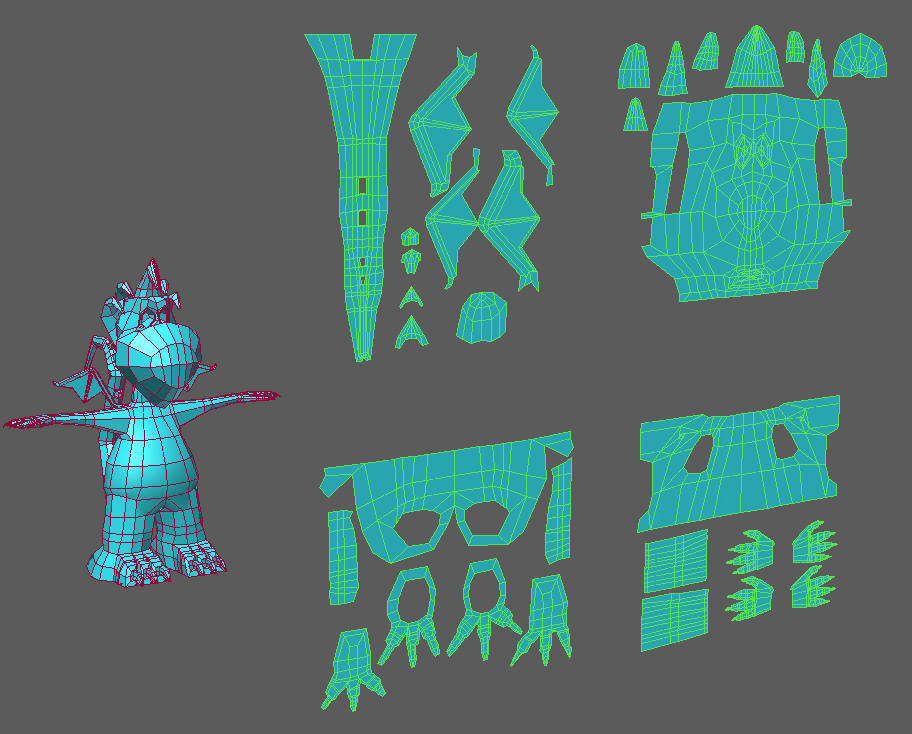
I finished the dragon geometry and fixed an oversight on my part. I forgot to give him some toes. Image shows the start of the manual morph based uv process. I just need to slice the pieces so I can lay them flat. I figure I'll select the edges with a soft selection and scale it out as the first step.
-
clintonman
- Captain
- Posts: 5659
- Joined: 21 May 2009, 21:08
- Type the number ten into the box: 0
- Location: California
Re: GMax Fundamentals
-
clintonman
- Captain
- Posts: 5659
- Joined: 21 May 2009, 21:08
- Type the number ten into the box: 0
- Location: California
Re: GMax Fundamentals
- Attachments
-
- UVunwrapMorph.zip
- (465.6 KiB) Downloaded 248 times
-
clintonman
- Captain
- Posts: 5659
- Joined: 21 May 2009, 21:08
- Type the number ten into the box: 0
- Location: California
Re: GMax Fundamentals
-
DanX
- Senior Chief Petty Officer
- Posts: 179
- Joined: 23 May 2009, 17:53
- Type the number ten into the box: 0
- Location: Florida
Re: GMax Fundamentals
Wow!
Nice work. Are you thinking of going for the big one and buying Max ? Its good to see the WIP thanks for sharing.
Nice work. Are you thinking of going for the big one and buying Max ? Its good to see the WIP thanks for sharing.
-
clintonman
- Captain
- Posts: 5659
- Joined: 21 May 2009, 21:08
- Type the number ten into the box: 0
- Location: California
Re: GMax Fundamentals
Not a chance. Well, maybe if I win the lottery and become a millionaire overnight.DanX wrote:.... Are you thinking of going for the big one and buying Max ? ....
Max is way outside my means, but if I did have the money I think would be more likely to get Maya.-
clintonman
- Captain
- Posts: 5659
- Joined: 21 May 2009, 21:08
- Type the number ten into the box: 0
- Location: California
Re: GMax Fundamentals
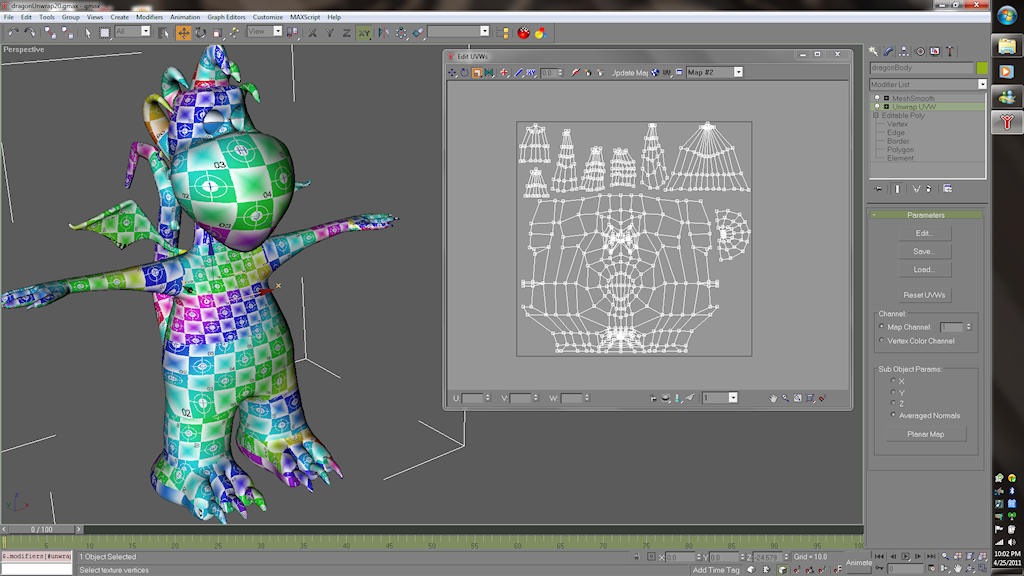
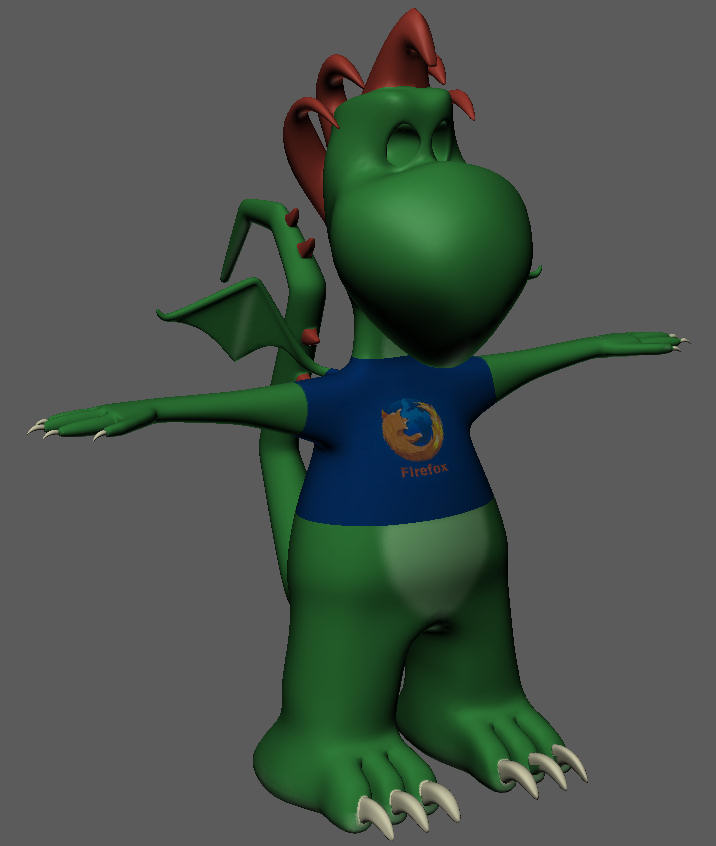
About 2 months away and back on target. Started the dragon textures today
.
-
jamesmc
- Captain
- Posts: 1776
- Joined: 08 Jul 2009, 15:35
Re: GMax Fundamentals
Very clean and glad you took the time to show the steps you took.
Job very well done.
Job very well done.
Walk by faith, not by sight.
-
clintonman
- Captain
- Posts: 5659
- Joined: 21 May 2009, 21:08
- Type the number ten into the box: 0
- Location: California
Re: GMax Fundamentals
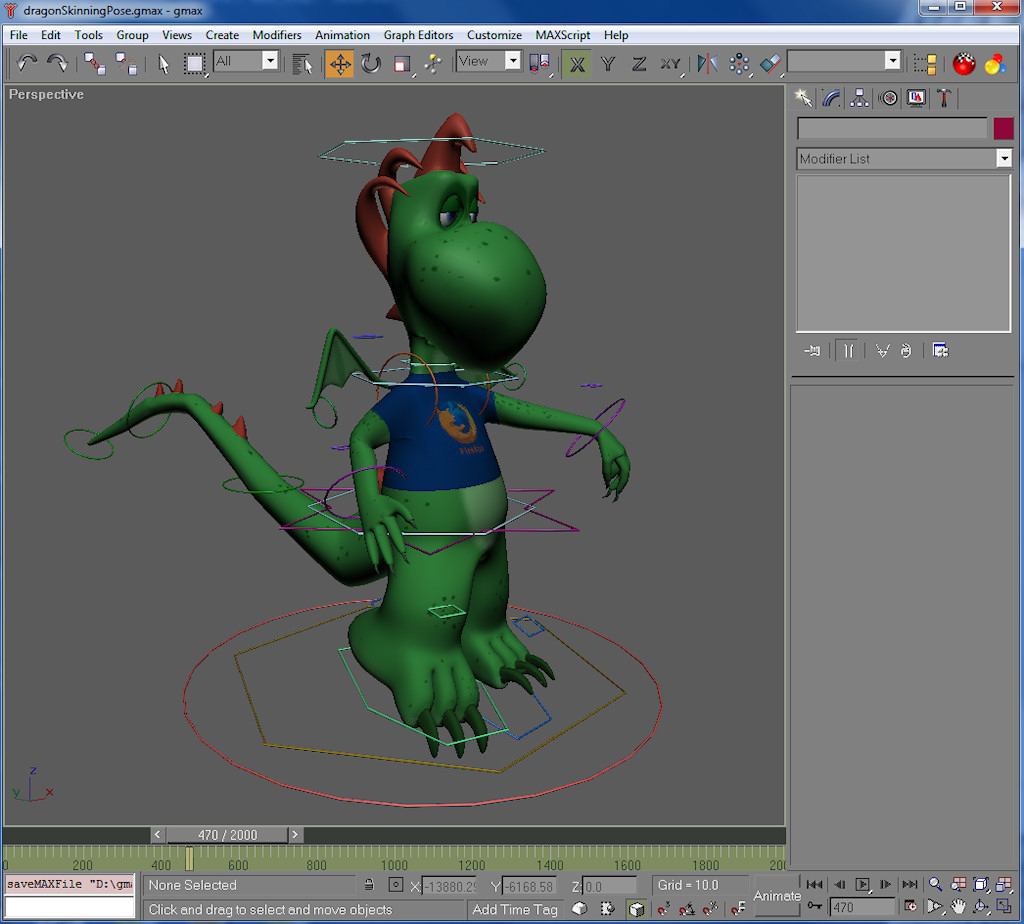
I'm finished with texturing the dragon. It turned out ok, especially considering the crazy uv map technique used. There is some stretching here and there but not too bad.
I've been skipping around the lessons and it's been so long I'm not sure what the next step is. I'll have to back track and review what I've done to figure out where I am.

-
Steinie

- Captain
- Posts: 2958
- Joined: 21 May 2009, 17:38
- Type the number ten into the box: 10
Re: GMax Fundamentals
Clinton your dragon turned out great! I like the Firefox logo too.
-
clintonman
- Captain
- Posts: 5659
- Joined: 21 May 2009, 21:08
- Type the number ten into the box: 0
- Location: California
Re: GMax Fundamentals
Thanks, I got the Firefox by taking a picture of my T-shirt.Steinie wrote:Clinton your dragon turned out great! I like the Firefox logo too.
-
v3rd3
- Lieutenant Commander
- Posts: 1191
- Joined: 21 May 2009, 20:04
Re: GMax Fundamentals
Wow never seen anyone spill pizza quite like that ...clintonman wrote:Thanks, I got the Firefox by taking a picture of my T-shirt.Steinie wrote:Clinton your dragon turned out great! I like the Firefox logo too.
-
clintonman
- Captain
- Posts: 5659
- Joined: 21 May 2009, 21:08
- Type the number ten into the box: 0
- Location: California
Re: GMax Fundamentals
-
clintonman
- Captain
- Posts: 5659
- Joined: 21 May 2009, 21:08
- Type the number ten into the box: 0
- Location: California
Re: GMax Fundamentals

-
clintonman
- Captain
- Posts: 5659
- Joined: 21 May 2009, 21:08
- Type the number ten into the box: 0
- Location: California
Re: GMax Fundamentals
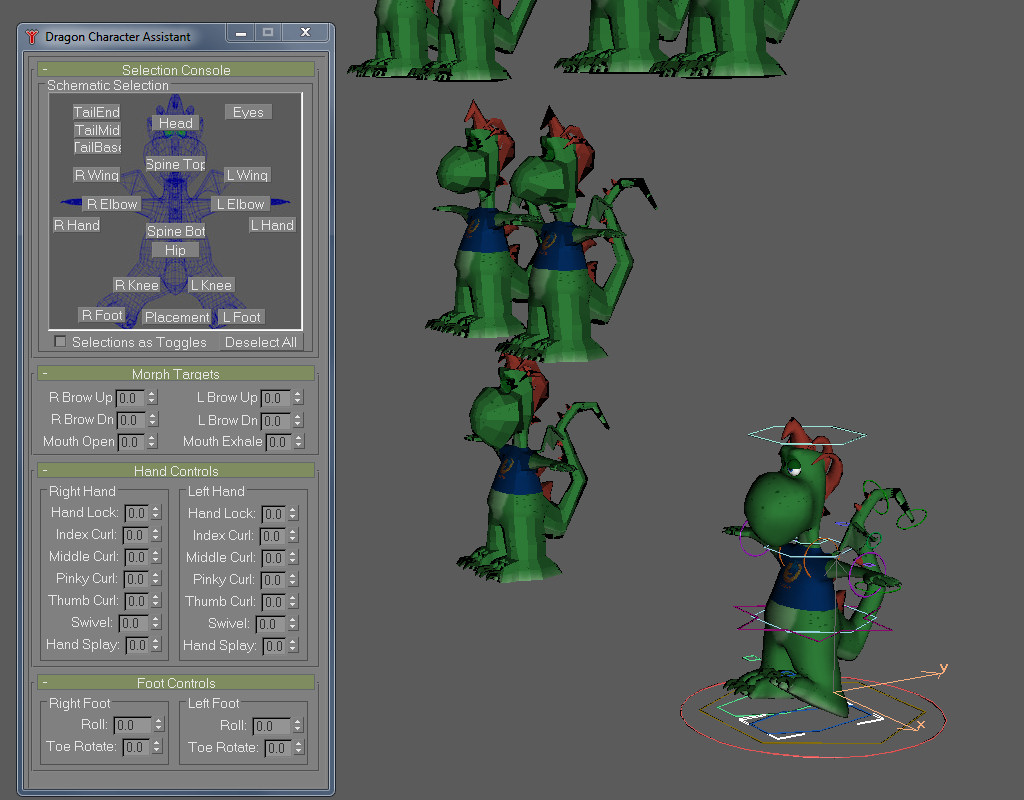
Image also shows some of the morph targets that were created.
Next is to model and texture the scene.
-
clintonman
- Captain
- Posts: 5659
- Joined: 21 May 2009, 21:08
- Type the number ten into the box: 0
- Location: California
Re: GMax Fundamentals

Next step is to texture the scene.
-
clintonman
- Captain
- Posts: 5659
- Joined: 21 May 2009, 21:08
- Type the number ten into the box: 0
- Location: California
Re: GMax Fundamentals
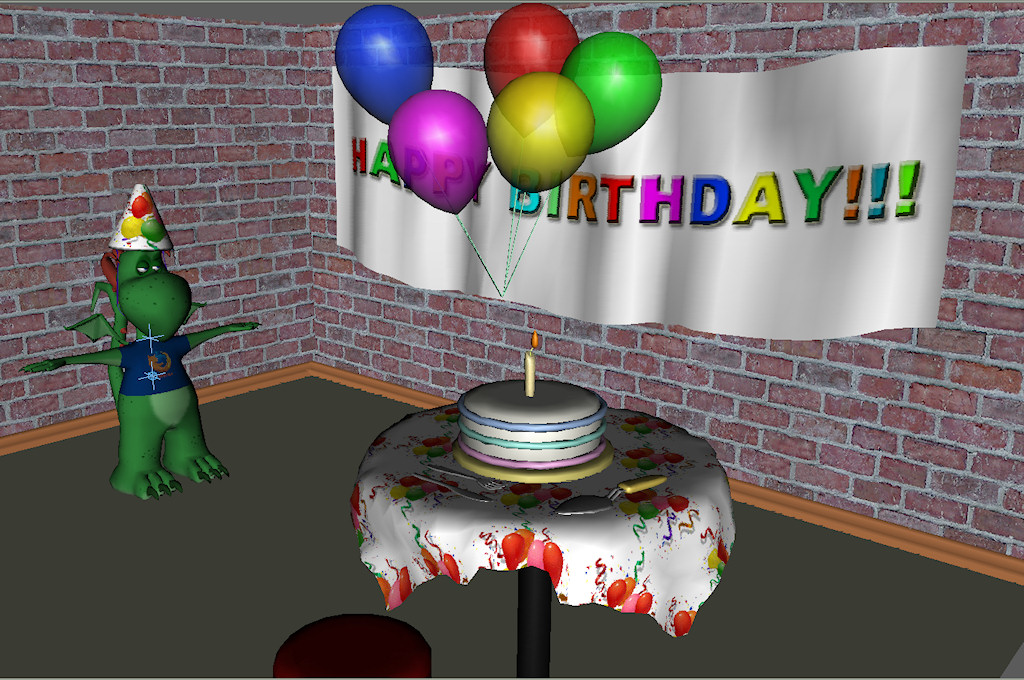
Next lesson is the animatic scene.
-
froo
- Captain
- Posts: 2554
- Joined: 22 May 2009, 12:13
Re: GMax Fundamentals
Looking really good there Clinton.
A birthday party! That looks like fun!
A birthday party! That looks like fun!
-
clintonman
- Captain
- Posts: 5659
- Joined: 21 May 2009, 21:08
- Type the number ten into the box: 0
- Location: California
Re: GMax Fundamentals
Thanks, Froo.
Started the animation of the dragon. The smoothing on the dragon was turned off and all the unnecessary elements were hidden to speed up drawing rate. The first part was blocking out the walk cycle then adding hip and arm motion. The second part was copying the walk cycle for the total length of the walk and using a control that positions the whole system so the dragon is standing in front of the table with his hands resting on the edge. The next set of instruction videos was for the 3 attempts of the dragon to blow out the candle. I'm in the middle of the lessons where more detail is added to the animation.
I was having problems with the animation process because smooth, the default GMax keyframe interpolation, gives some pretty wild overshoots in the motion. I was making all the keys linear just to get predictable behavior, but the story has a happy ending. I finally found the settings to control the default interpolation, changed it to the bezier setting and now it works well.
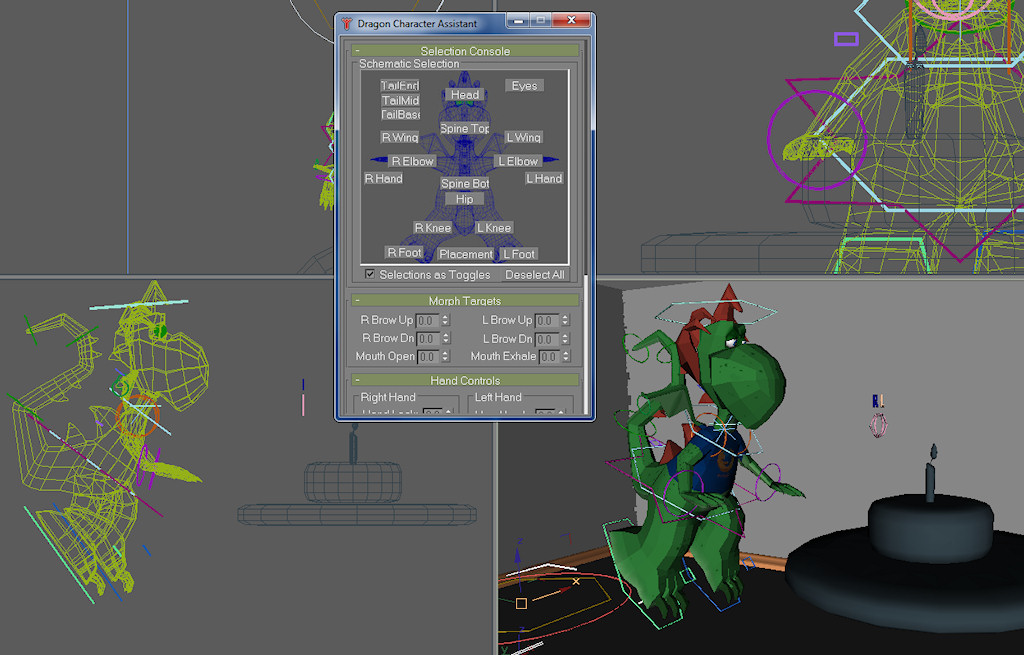
I was having problems with the animation process because smooth, the default GMax keyframe interpolation, gives some pretty wild overshoots in the motion. I was making all the keys linear just to get predictable behavior, but the story has a happy ending. I finally found the settings to control the default interpolation, changed it to the bezier setting and now it works well.
-
Steinie
- Captain
- Posts: 2958
- Joined: 21 May 2009, 17:38
- Type the number ten into the box: 10
Re: GMax Fundamentals
I am enjoying this thread!
p.s. You know a Dragon cannot blow out a candle, he can only light it...
p.s. You know a Dragon cannot blow out a candle, he can only light it...
-
froo
- Captain
- Posts: 2554
- Joined: 22 May 2009, 12:13
Re: GMax Fundamentals
Now **There's** a really great idea for an animation!
He tries to blow out the candles but torches the cake instead.
He tries to blow out the candles but torches the cake instead.
-
clintonman
- Captain
- Posts: 5659
- Joined: 21 May 2009, 21:08
- Type the number ten into the box: 0
- Location: California
Re: GMax Fundamentals
I think you guys must be psychic. Here's a quote from the product page for the lessons I'm following:
http://www.3dbuzz.com/xcart/product.php ... =10&page=1"
"The animation for the dragon will consist of a simple walk cycle, a couple of hop sequences where he tries to blow out a candle on his cake, and then a short sequence where in the excitement, he accidentally takes flight and incinerates the entire cake. You'll see how to create animation using rotoscoping, and how to add facial expressions using Morph Targets."
I'm not sure what I'm going to do about the fire yet. The lessons are for 3dsmax and use it's particle system for the fire. GMax has no particle system.
http://www.3dbuzz.com/xcart/product.php ... =10&page=1"
"The animation for the dragon will consist of a simple walk cycle, a couple of hop sequences where he tries to blow out a candle on his cake, and then a short sequence where in the excitement, he accidentally takes flight and incinerates the entire cake. You'll see how to create animation using rotoscoping, and how to add facial expressions using Morph Targets."
I'm not sure what I'm going to do about the fire yet. The lessons are for 3dsmax and use it's particle system for the fire. GMax has no particle system.
-
BNG

- Chief Warrant Officer
- Posts: 684
- Joined: 16 Oct 2009, 03:26
- Type the number ten into the box: 0
- Location: Texas
Re: GMax Fundamentals
What GMAX really needs is more model exporters in general. I used it back a few years with the MDL/X and MD3 exporters. It really is an excellent modeling software except for the pitiful lack of popular modeling formats. The modeling controls are quite a bit easier to fathom then those used by Blender. Where GMAX excels is in it's customizable user interface and icon like Truespace feel. Nice models Clinton. BNG.
Casual Truespace 3D modeling hobbyist. My Truespace blog and simple 3d Modeling Tutorials for Casual Model Makers.
-
clintonman
- Captain
- Posts: 5659
- Joined: 21 May 2009, 21:08
- Type the number ten into the box: 0
- Location: California
Re: GMax Fundamentals
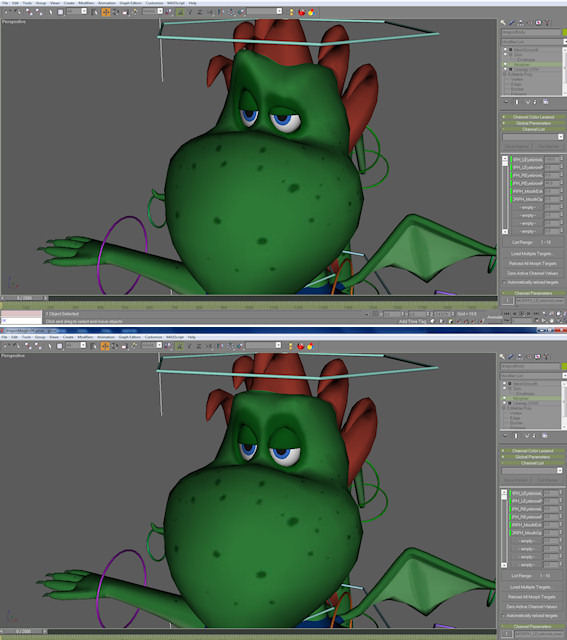
And it's done! The last time I touched this was October so there were a few things to remember about the setup. After the first pass of animation I made a preview and discovered that the timing was off all over the place. I forgot to set realtime playback in GMax. It was a bit of a struggle fixing it all up. The fixing process tended to break other things. Later when adding the eye animations I found that the blink controls weren't working so had to do those over. The video lessons used dynamics for the candles flame and particle system for the fire breathing flame. GMax can't do that so I used noise applied to bones skinned to the flame and an animated noise modifier on extruded geometry to represent the dragons flame. The video used animated materials to turn the cake black, I just replaced the cake with a burnt version.
The final dragons birthday video is attached.
The final dragons birthday video is attached.
- Attachments
-
- dragonsFirstBirthday.zip
- (4.35 MiB) Downloaded 290 times
-
bitkar

- Captain
- Posts: 2089
- Joined: 16 Mar 2010, 07:14
- Type the number ten into the box: 0
- Location: Czech Republic
Re: GMax Fundamentals
haha, thats not bad :D
Michal aka bitkar
tS freak since tS2 (1998) and forever (tS7.61 modeler)
tS freak since tS2 (1998) and forever (tS7.61 modeler)
-
BNG
- Chief Warrant Officer
- Posts: 684
- Joined: 16 Oct 2009, 03:26
- Type the number ten into the box: 0
- Location: Texas
Re: GMax Fundamentals
 Has anyone ever used a max script to export model geometry? I've been told that GMAX is a sub set of 3D Max. I may take a closer look at it again though. Seems like when one learns to use other software like Truespace the other modeling software begins to make more sense then when one first tried using the other software.
Casual Truespace 3D modeling hobbyist. My Truespace blog and simple 3d Modeling Tutorials for Casual Model Makers.